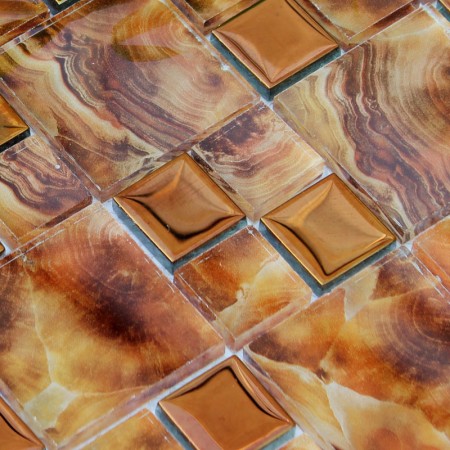
Chip Size: 23 x 23mm, 48 x 48mm; Sheet Size: 300 x 300mm; Material: Glass; Color: Gold; Shape: Square
- Collection: Glass Mosaic Tiles
- Material: Glass
- Color: Gold
- Surface Finish: Glossy, easy for cleaning.
- Shape: Square
- Sheet Size: 300 x 300mm
- Chip Size: 23 x 23mm, 48 x 48mm
- Thickness: 8mm
Cutting out the middlemen!
Get the REAL factory wholesale prices and gain the greatest profits from us.
Crystal glass mosaic zero water absorption, making it the most suitable swimming pool, bathroom, kitchen, etc. The adornment of metope, ground, and because of the mosaic of the specifications of the small, can spell into all sorts of color of beautiful color, gradients and patterns.
Liquids and vapor proof, easy to clean
High and low temperature resistant
Acid-resistant and Alkali-resistant
Easy to install with standard tool and material

front side of the glass tile backsplash

crystal glass tile kitchen designs

glass metal coating tile

back of the glass mosaic tile, mesh mounted and easy install to any mosaic tile project.
Mosaic tile installation guide
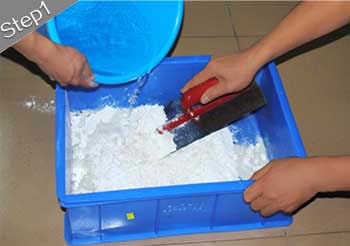 Mix the powder thin-set mortar with latex additive in bucket that can easily be found in most home improvement stores. | 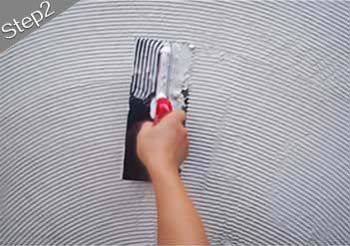 Before laying the mosaic tiles, a thin layer of cement mortar should be pasted to the cover surface. Then, fill the joints between each small mosaic tile on the net with white mortar paste, press the mosaic sheet toward the wall in accordance with the direction of the arrow on the setting paper. |
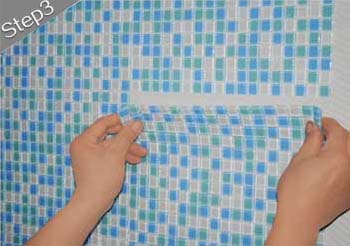 Press the mosaic sheet toward the wall surface to make it even and attach it to the surface. | 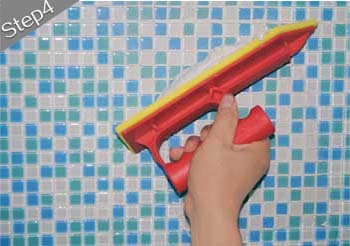 Level up the surface of the mosaic tiles towards the wall. Fill up the joints evenly with white grout. |
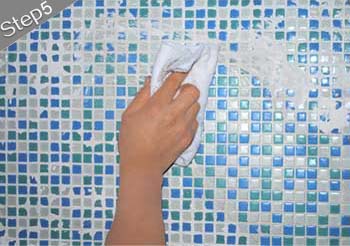 Clean up the remaining grout and adhesive on surface with a soft cloth and tissue after about 1 hour dry. | 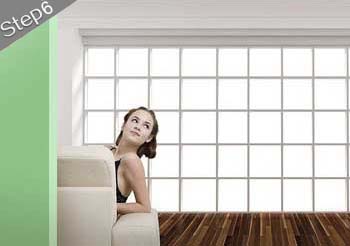 The installed mosaic tiles will dry in about 24 hours. |
NOTICE: These above installation methods are suggested and based on our own technical experiences. It is for your reference only. No warranty is implied. For best results, please hire a professional tile installer experienced in the application of glass mosaic tiles, glass mosaic tiles, or mother of pearl tiles.
Also, you can refer to an official glass tile installation instruction from the CTIOA.
World-class manufacturing facility
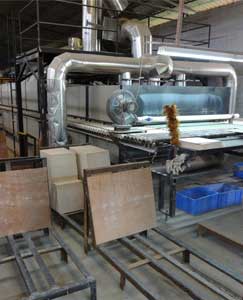 Production floor | 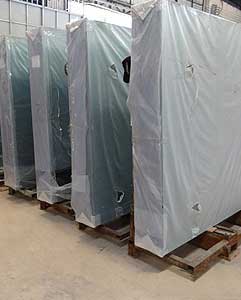 Strictly selected raw materials | 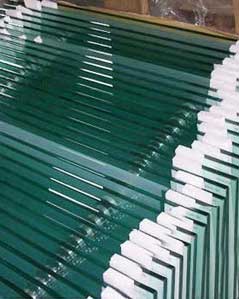 Quality materials |
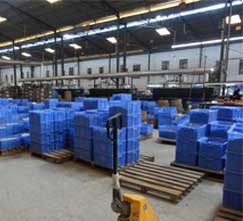 Well-organized production floor | 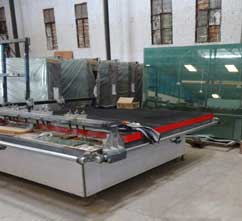 Precision glass cutting machinery | 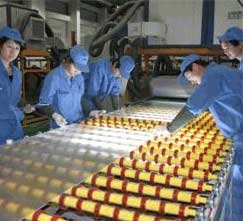 Strictly quality control process |
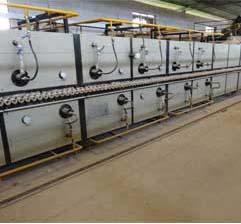 Natural gas kiln (the most environmental-friendly kiln) | 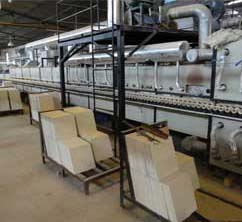 Technologically advanced kiln |  Equipment with the most advanced technology |

